Kali Linux is a Debian based (like Ubuntu) Linux distribution designed for virtual forensics and penetration testing.
It can be quickly installed in a Virtualization environment such as in VirtualBox on your Windows 11 – 64bit computer (or on Windows 10, don’t worry if you don’t have Windows11 yet.. ). Let us quickly walk through the installation steps.
Prerequisites for installing Virtual Kali Linux
First, let us go through the simple checklist to prepare your computer for the Kali Linux Virtual environment. For a quick installation, we will be using pre-made VirtualBox images available from Kali Linux official website.
- Laptop disk space memory and CPU – Kali Linux recommends 20GB hard disk space and 2GB RAM for i386 and AMD64 architectures.
- Virtualization platform – VirtualBox – have your Oracle VirtualBox installed if you haven’t already.
- Download the Kali VirtualBox compressed VM image from the official source https://www.kali.org/get-kali/#kali-virtual-machines
- The image comes in a 7z compressed zip format, which helps to download the VirtualBox image faster, size of around 2.5GB.
- After unzipping, the size of the image expands to 12GB
How to extraxt the 7z. file?
You would require 7-zip utility for uncompressing the Kali Linux VirtualBox image. You can download 7-zip utility, from: https://www.7-zip.org/download.html Choose the correct version, such as – 64-bit Windows x64 – 7-Zip for Windows
- To extract the Kali Linux VirtualBox image 7zip file, you can open the 7zip file manager and extract it from there.
- After extracting, move your extracted Kali Linux VirtualBox VM folder to a place where you want to run the VirtualMachine (running as a Virtual Machine) – this is an optional step.
The extracted image folder should have two files as listed below (file name – version might vary):
kali-linux-2022.3-virtualbox-amd64.vdi
kali-linux-2022.3-virtualbox-amd64.vbox
Creating a new Kali Linux Virtual Machine
Now, you can add a new VM, by going to VirtualBox
- Machine -> Add
- Select your Kali Linux VirtualBox image folder
- Appliance setting dialogue box, keep all default options and click on import.
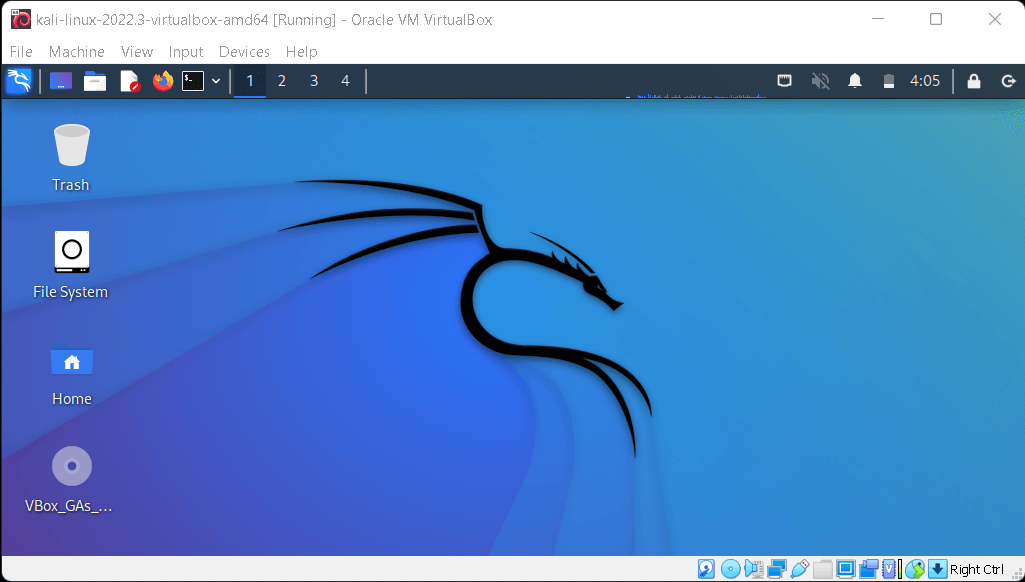
- The VM will be ready to run at this point! You can select the VM and start it.
- The default username and passwords are the same: kali
When you are done, just close the window, it will give you options to save the state, PowerOff etc.
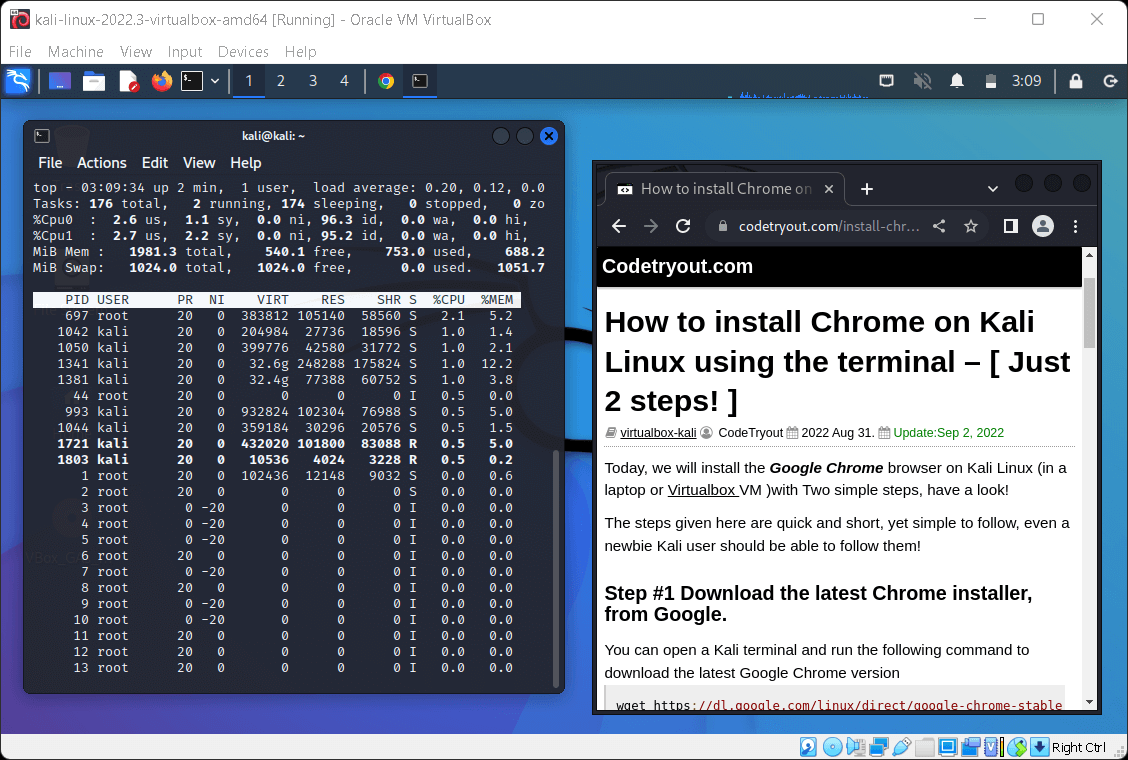
You can further customize your Kali Linux VM to suit your needs, such as modifying the allocated memory, CPU, network settings etc. Hope this guide was helpful in quickly running a Kali Linux VirtualBox VM. You may refer to our other guides for Kali Linux:
Official webpages for more references:
- Kali Linux: https://www.kali.org/
- Oracle VirtualBox: https://www.virtualbox.org/
- 7Zip: https://www.7-zip.org/